We may earn revenue from the products available on this page and participate in affiliate programs. Learn more >
Today, we’re going to explore the basics of how to hold a rapier. This guide is perfect for beginners who want to understand the proper technique and avoid common mistakes. The rapier is a unique and elegant weapon and learning how to hold it correctly is crucial for effective use.
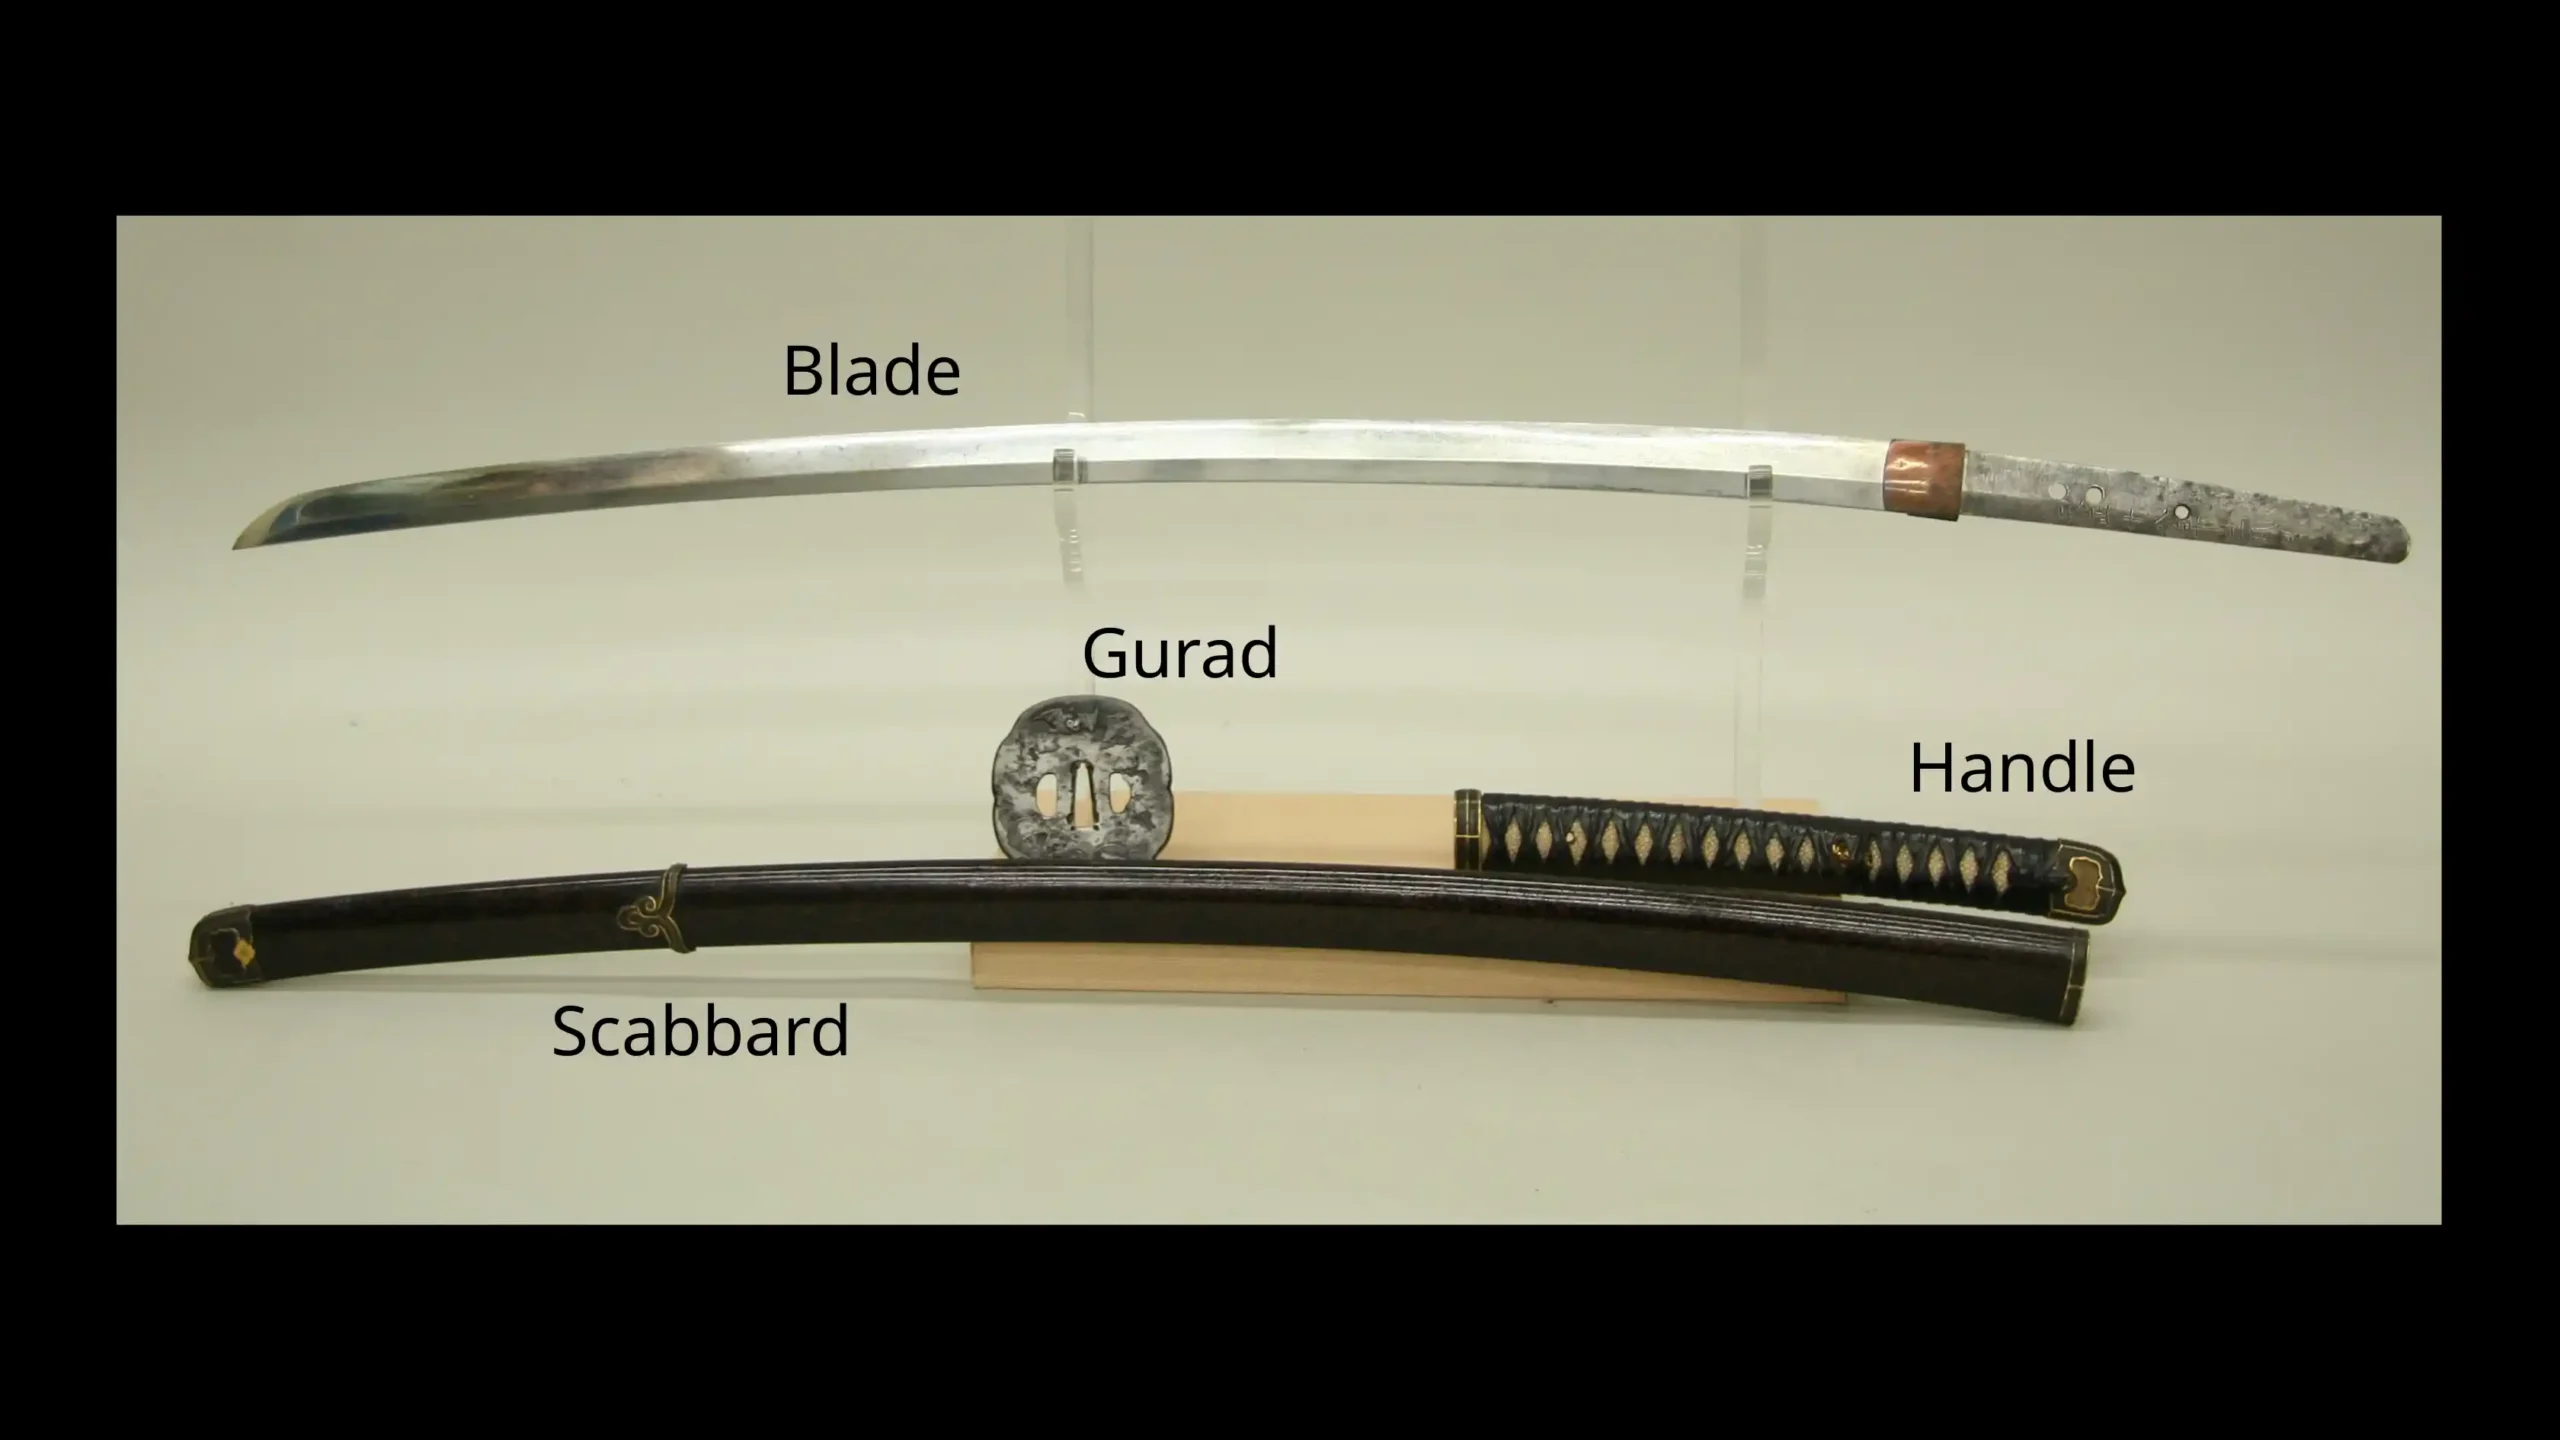
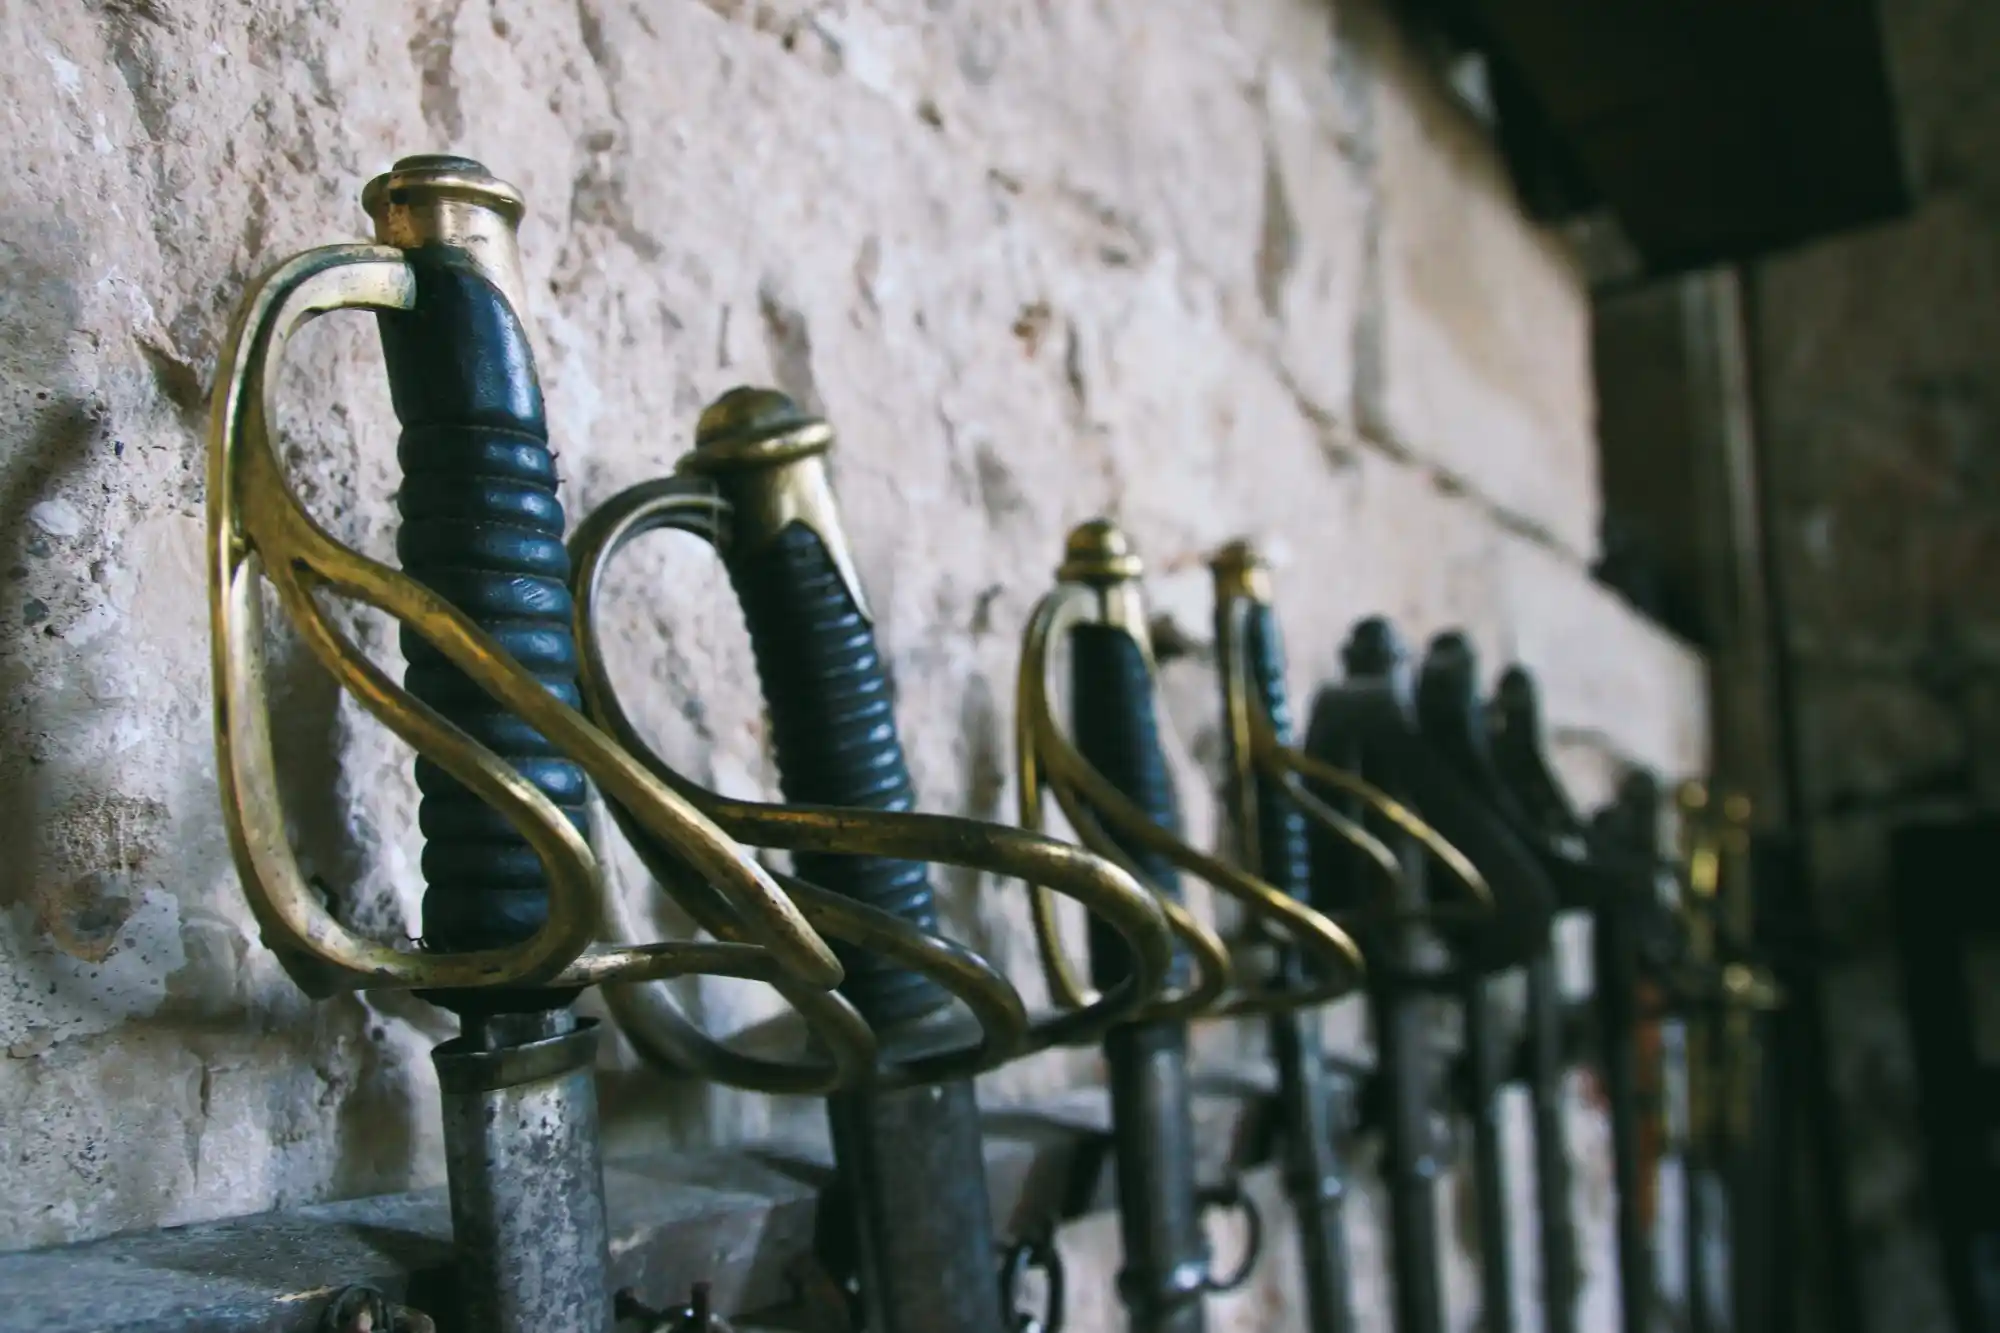
Understanding the Rapier
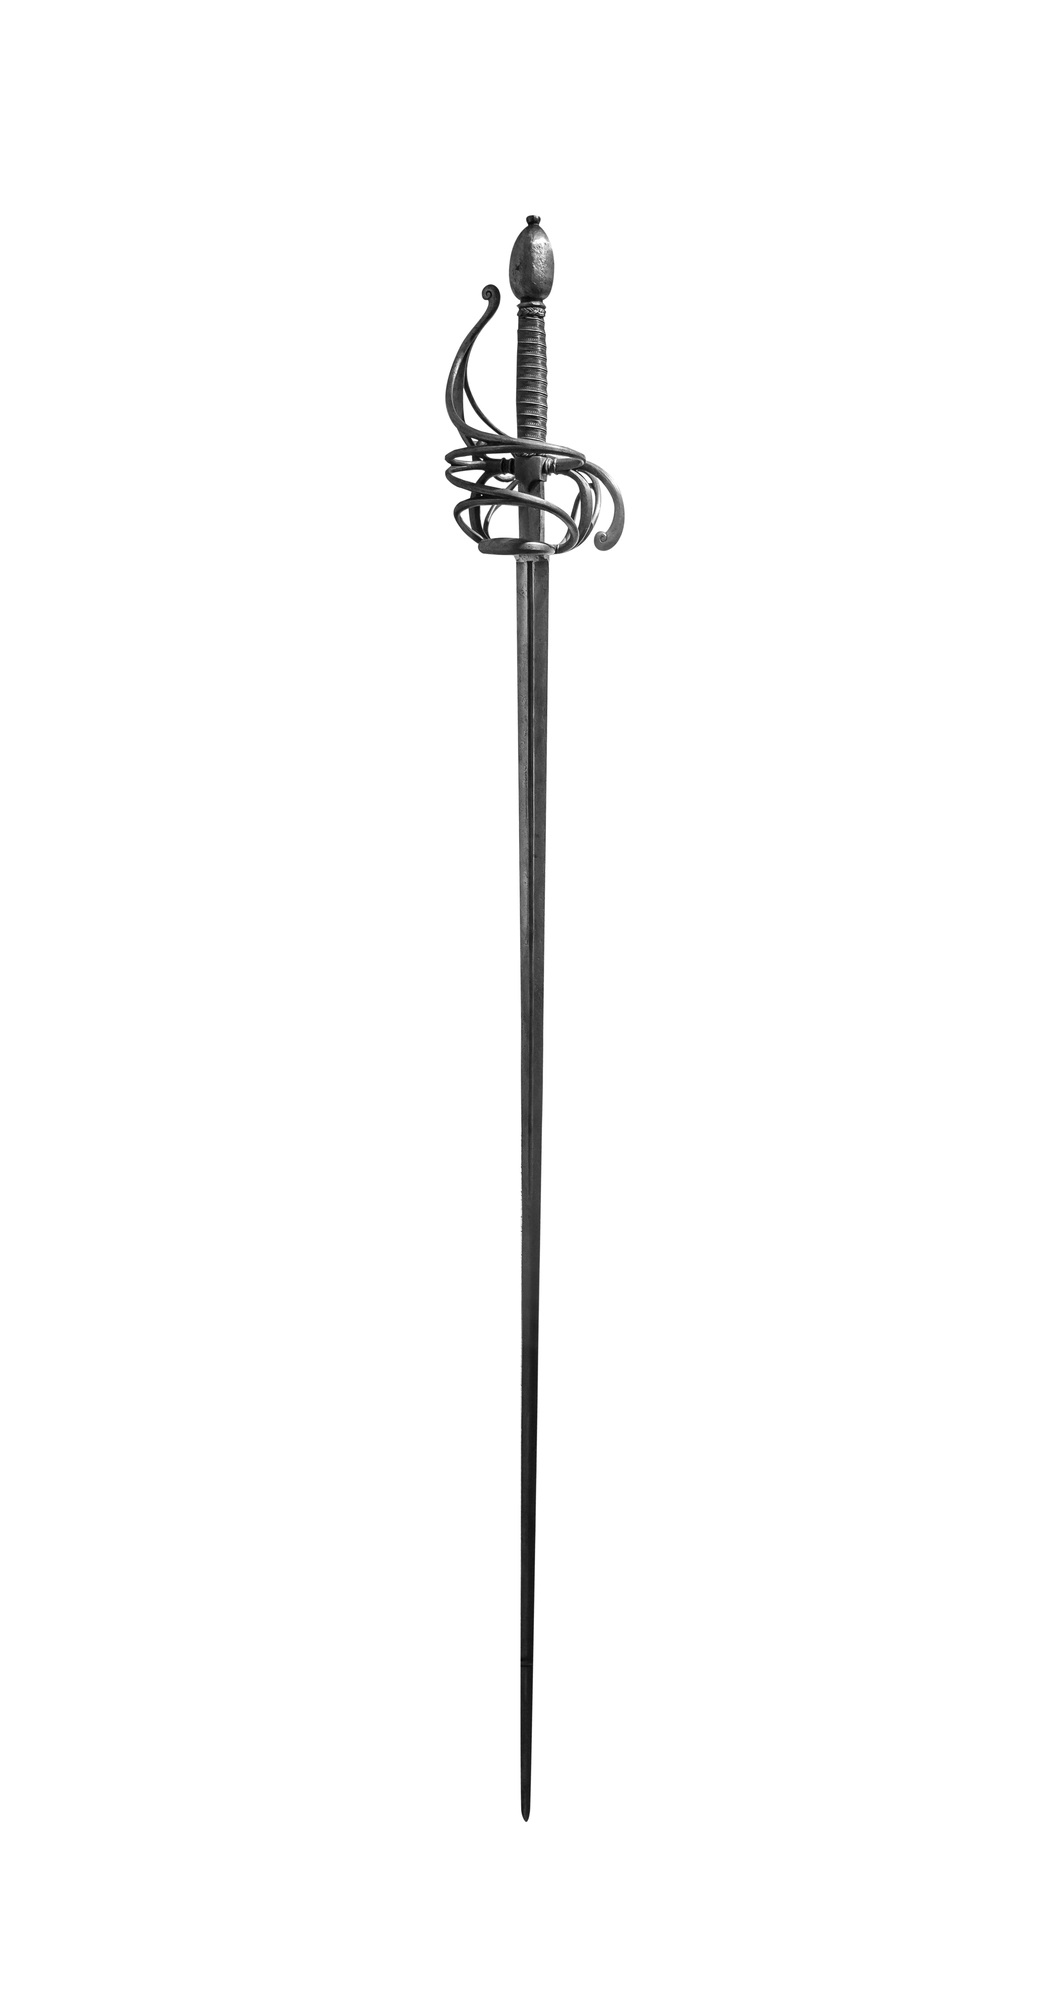
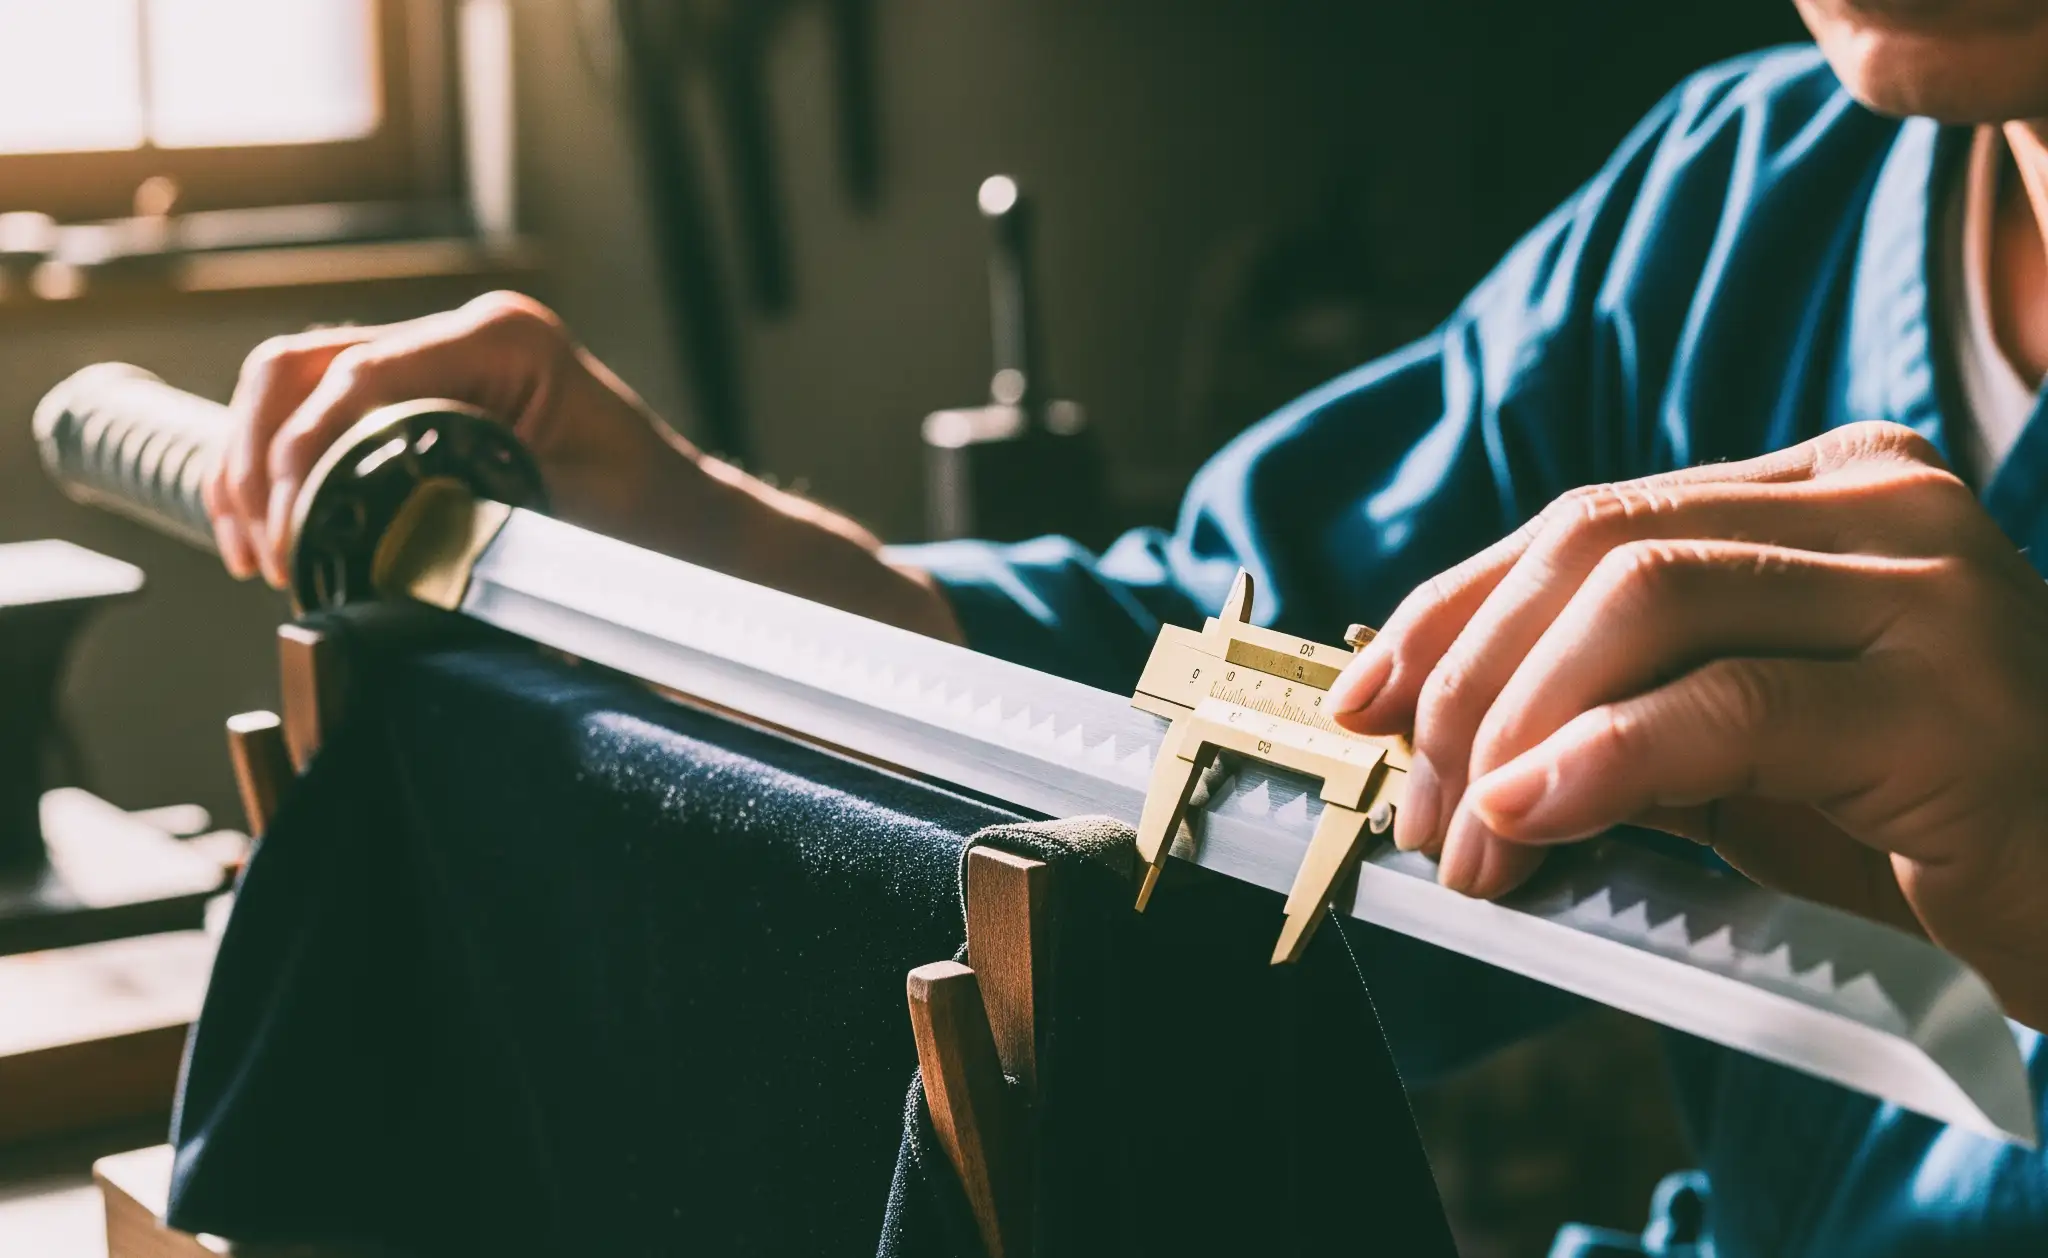
The rapier features a straight, slender, sharply pointed, double-edged blade designed for one-handed use. Unlike many other swords focused on cutting techniques, rapiers are primarily designed with around 80 percent of techniques centered on thrusts. This requires a unique grip style that maximizes control over the blade, aiding accuracy and making it easier to shift between offense and defense.
How to Hold a Rapier
- Place your dominant hand on the hilt, with your fingers wrapping around it.
- Position your index finger and thumb around the guard for better control. The other fingers should grip the handle firmly but not tightly.
- Your thumb should rest comfortably on or near the flat side of the hilt, providing additional stability.
- Your grip should be firm enough to control the rapier but flexible enough to allow for quick movements.
Common mistakes and how to avoid them
Overgripping
Issue: Holding the rapier too tightly can cause muscle fatigue and reduce flexibility.
Correction: Relax your grip. Hold firmly but not tightly, allowing for smooth, controlled movements.
Improper wrist position
Effects: A bent or awkward wrist position limits movement and increases the risk of injury.
Adjustment: Keep your wrist straight and aligned with your forearm. Practice maintaining this position during drills to build muscle memory.
Advanced techniques
Transitional grips
During fighting, you may need to change grips to adapt to different situations. Practice smoothly shifting your grip by slightly loosening and repositioning your fingers and thumb.
Adjust your grip for different moves
- Thrusts: For a thrust, tighten your grip slightly to ensure stability.
- Parries: When parrying, maintain a firm but flexible grip to absorb and redirect the opponent’s blade.
- Feints: For feints, use a lighter grip to increase the speed and fluidity of your movements, making your feints more deceptive and harder to predict.
Last Words
Learning how to hold a rapier correctly is the first step if you want to be good at using it. Whether for solo training, cutting/thrusting tests, modern fencing, or self-defense, mastering the grip is essential for control and precision.